Unbox and remove all packing material
Take the Epson Expression Home XP-4200 out of the box and remove every piece of tape, foam and the cardboard inserts — inside the cartridge/toner area too. Leftover packing is the #1 cause of carriage and jam errors on a brand-new printer.

Connect power and turn it on
Plug the power cord into the printer and a wall outlet, then press the power button. Wait for it to finish initializing before going further. (Skip connecting the USB cable for now — only plug it in if the installer asks.)

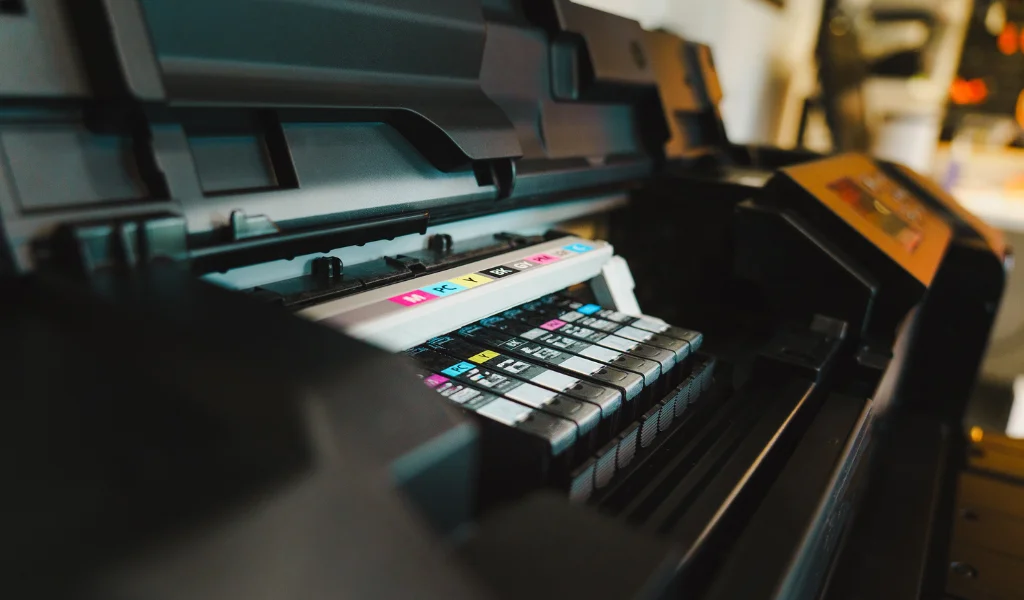
Install the ink cartridges
Open the cartridge door, unwrap each cartridge and remove the protective tape, then push it into the matching slot until it clicks. Close the door and let the printer recognize them.
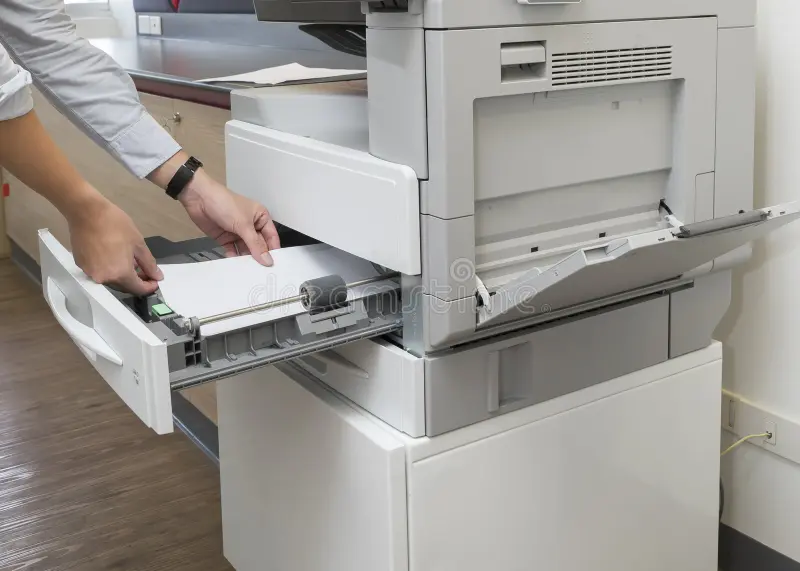
Load paper into the tray
Fan a stack of paper, place it in the input tray, and slide the guides snug against the edges so it feeds straight. Don't overfill past the max line.
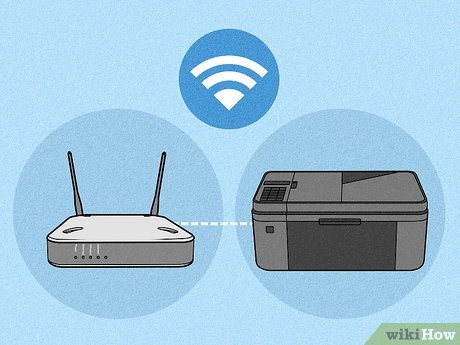
Connect to Wi-Fi or your computer
For wireless, use the printer's Wi-Fi Setup Wizard (or the brand app) and join your 2.4GHz network — most home printers don't use 5GHz. For a wired setup, connect Ethernet or USB. Keep the printer near the router while pairing.
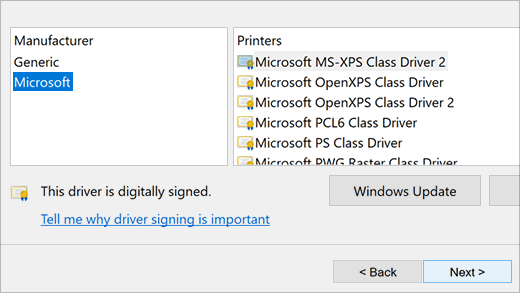
Install drivers and the printer software
On a computer, install the full driver/software package (not just the basic driver) so printing and scanning both work. Get drivers and the Smart Panel app from epson.com/support. EcoTank owners should follow the guided ink-charging step on first setup. On a phone, install the brand's app to finish setup.
Run initial ink charging and alignment
Let the printer run its first-time ink priming, then print the alignment page so text and photos come out sharp.
Print a test page and adjust settings
Print a test page to confirm everything works. Then set your defaults — paper size, quality, and turn on two-sided (duplex) printing if you want to save paper.
Troubleshooting this printer
Printer prints blank pages
Paper feeds through but comes out blank or nearly blank. On inkjets this is usually clogged nozzles or air in…
HardwareEpson paper jam message with no jam
Epson keeps reporting a paper jam even though no paper is stuck. This is typically debris on the sensors/rolle…
ConnectivityPrinter not found during wireless setup
The setup app or driver can't discover the printer on your network. Most wireless-setup failures come from ban…
ConnectivityPrinter shows "Offline" and won't print
Your computer lists the printer as Offline even though it is powered on. This is almost always a communication…