Canon Error 5100: Carriage Obstruction Explained (and the Encoder Strip Fix Most People Miss)
Support code 5100 means the print carriage cannot move as expected. Packing material, a paper scrap or an ink-smeared encoder strip account for nearly every case.

On this page
Canon support code 5100 means the print carriage did not move as expected. The printer either tried to move it and nothing happened, moved it and it went further or less far than it should, or lost track of where it was. In practice that comes down to three things: an obstruction, something not seated properly, or a dirty encoder strip - and the last of those is the one people most often miss.
Quick fixes first
- Switch the printer on, open the top cover so the carriage moves to the centre, then unplug the power cord.
- Slide the carriage gently to each side by hand, removing any paper, tape or debris from its track.
- Remove every piece of orange tape, foam and cardboard if the printer is new.
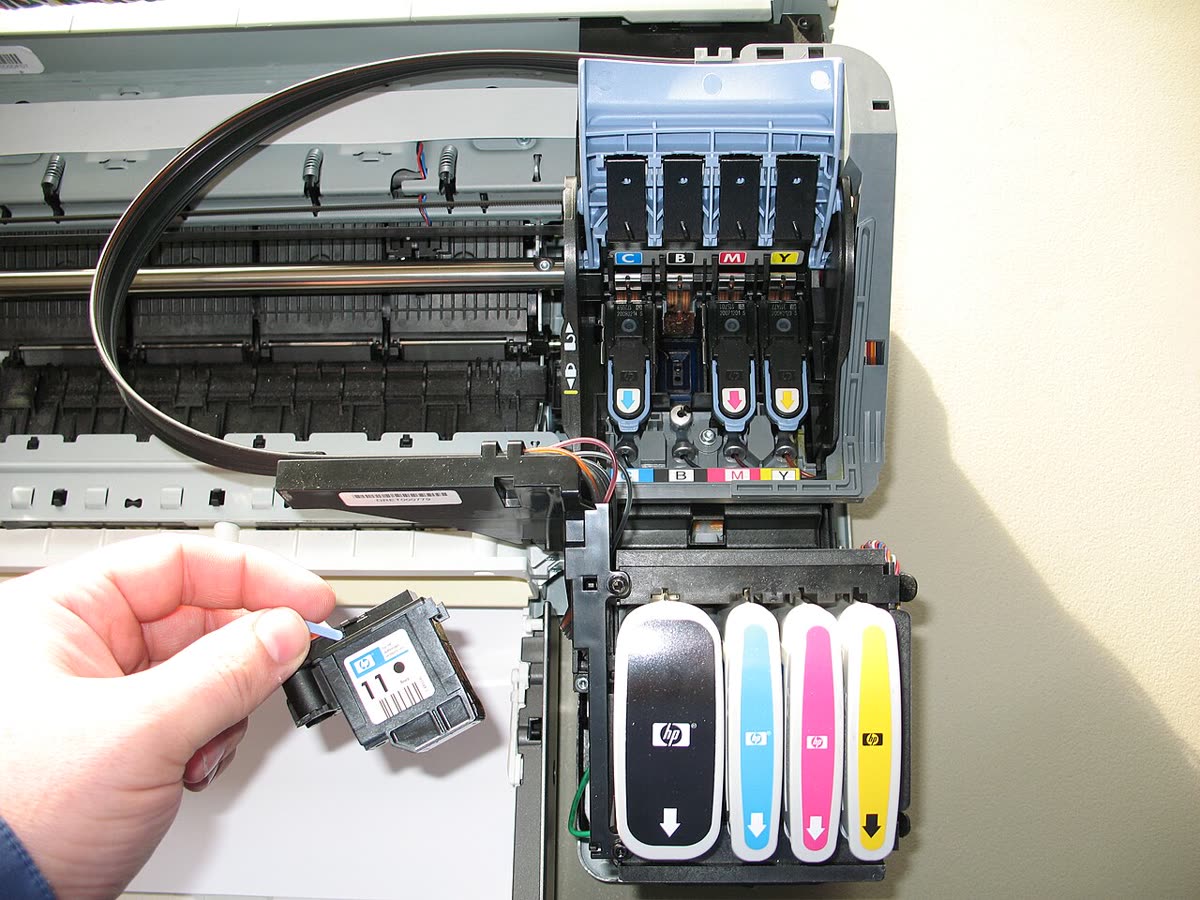
- Reseat each cartridge and, on models with a removable printhead, the printhead itself.
- Wipe the clear encoder strip behind the carriage with a dry lint-free cloth - no alcohol.
Why this happens

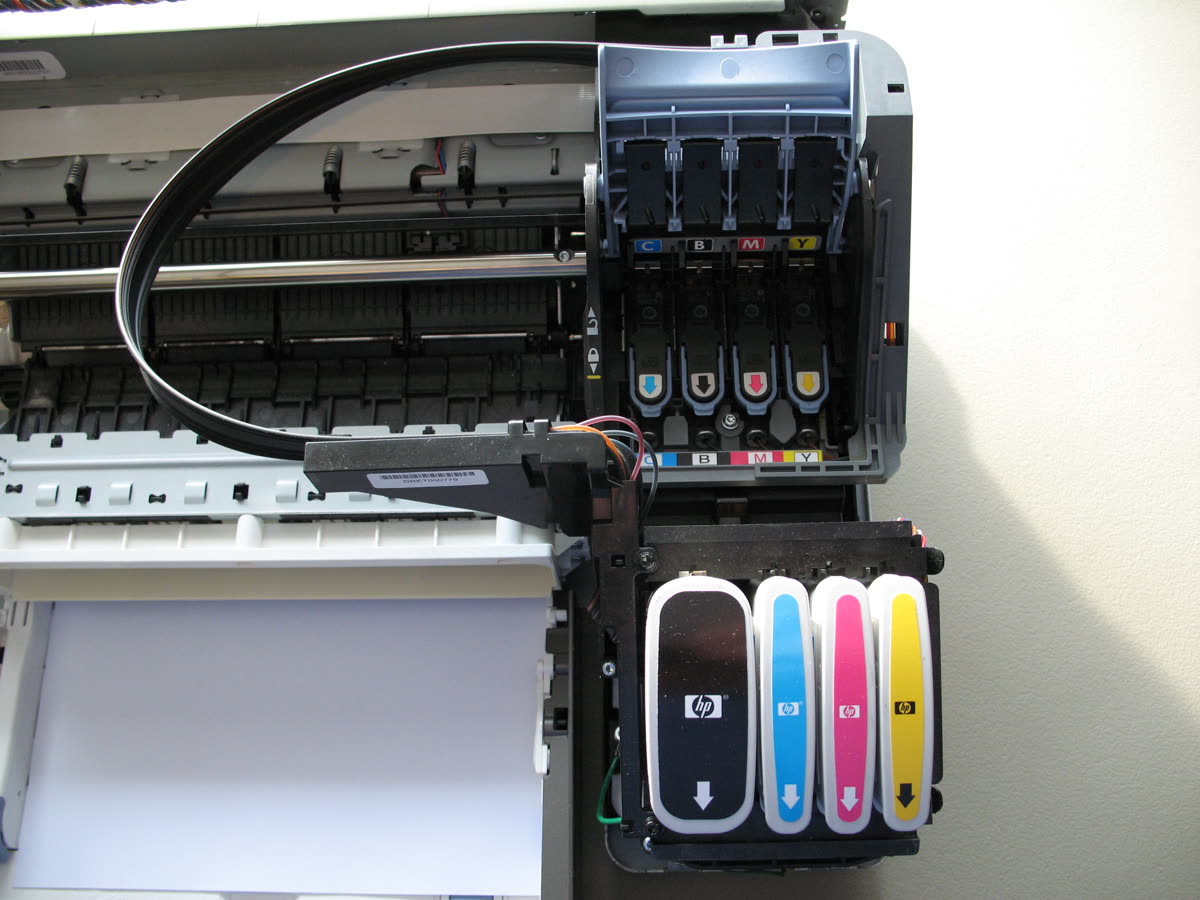
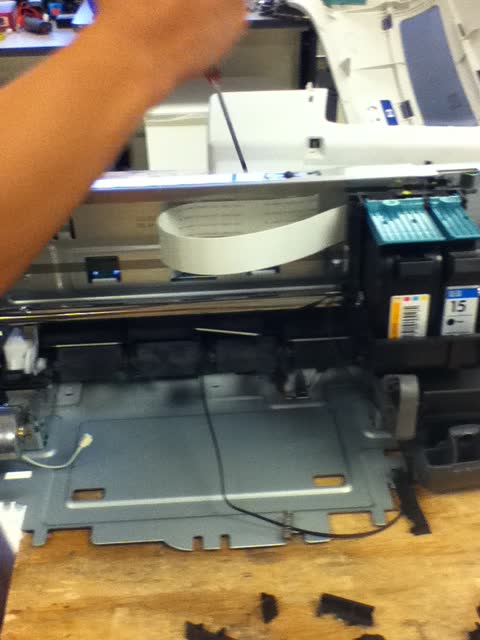
The carriage holding the printhead and cartridges rides on a metal rail, pulled across the page by a rubber belt driven by a small motor. Behind it runs a thin clear plastic ribbon - the encoder strip, sometimes called a timing strip - carrying very fine printed lines that a sensor on the carriage reads to know its exact position. Every one of those parts has to work.
The causes, roughly in order of frequency:
- Packing material. On a new printer this is the leading cause by some distance. Orange tape and foam protect the carriage in transit and a piece routinely gets missed.
- Paper scrap in the track. A fragment left after a jam sits in the carriage path. This is why a 5100 often follows a support code 1300 jam.
- Cartridge or printhead not seated. A cartridge sitting slightly proud fouls something as the carriage travels.
- Contaminated encoder strip. Ink mist settles on it over time, or a finger smear from previous work inside the printer. The sensor misreads and the printer thinks the carriage is in the wrong place.
- Purge unit problems. The carriage parks over a capping and suction assembly on the right-hand side. Dried ink there can physically hold the carriage.
- Mechanical failure. A slipped or stretched belt, or a failed carriage motor.
Fix 1: Clear the carriage path
The sequence matters. Opening the cover while powered moves the carriage out of its parked position; unplugging afterwards releases the motor so you can move it by hand.
- Switch the printer on and let it settle.
- Open the top cover. The carriage should travel to the centre.
- Unplug the power cord from the wall.
- Shine a torch along the full width of the carriage track, including both extreme ends.
- Move the carriage gently to the left, inspect, then to the right, inspect again. It should glide with light, even resistance.
- Remove anything you find - paper fragments, tape, foam, packaging clips.
- Open the rear cover and remove the transport unit if fitted, in case a scrap there is fouling the mechanism.
Fix 2: Remove all packing material
If the printer is new or has recently been moved, go through every piece deliberately:
- Orange tape on the outside and inside of the top cover.
- Foam blocks or a cardboard insert wedged beside the carriage.
- Tape securing the carriage to one side.
- Protective film on each cartridge, including the small strip over the contacts.
- Tape in the paper cassette and on the rear cover.
Check with a torch rather than by feel - transit foam is often the same colour as the printer's internals.
Fix 3: Clean the encoder strip - carefully

This is the fix that resolves cases where the path is visibly clear. The encoder strip runs the full width of the printer immediately behind the carriage, and it carries a very fine pattern that must remain legible to the sensor.
- With the power disconnected, locate the strip.
- Fold a dry lint-free cloth and pinch the strip gently between the fold.
- Draw the cloth along the strip once, from one end to the other.
- Check the strip is still seated in its clip at each end and is neither twisted nor torn.
Never use alcohol, glass cleaner, or any solvent. These dissolve the printed markings, and a strip with its pattern removed cannot be recovered - it has to be replaced as a part. If ink is heavily dried on, a cloth very lightly dampened with plain water and then a thorough dry pass is the most that is safe.
Also check the strip's tension. If it has come off its mounting spring at one end - easy to do while working inside the printer - refit it there. A slack or detached strip produces exactly this error.
Fix 4: Reseat cartridges and printhead
Remove each cartridge and refit it until you hear or feel a definite click. Cartridges frequently look installed while sitting a millimetre proud, and that is enough to catch as the carriage travels.
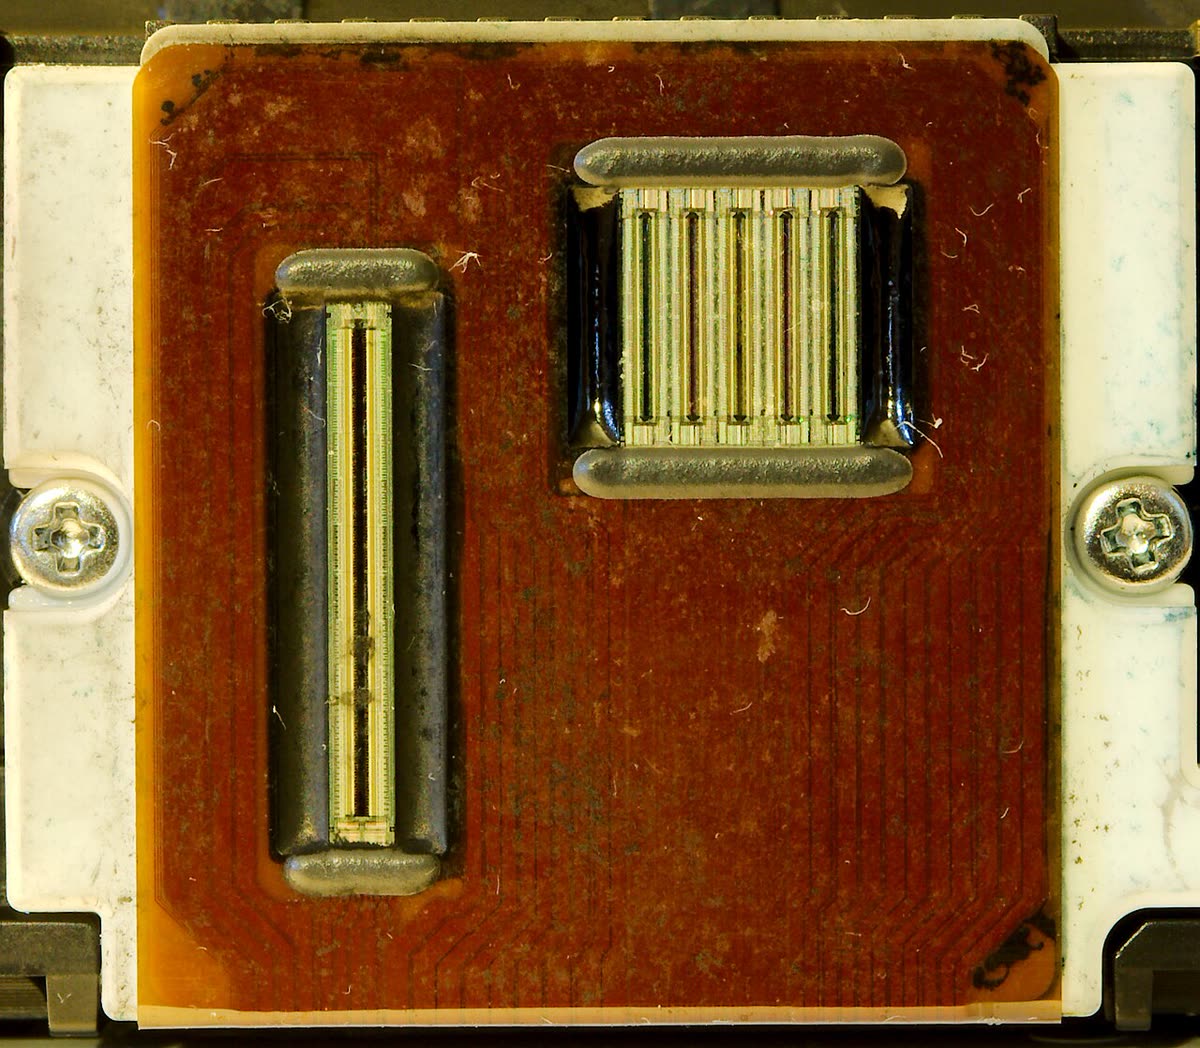
On PIXMA models the printhead is removable. Lift the grey latch fully upright, remove the printhead, wipe its gold electrical contacts and the matching contacts in the carriage with a dry lint-free cloth, then refit squarely and close the latch until it clicks. Do not touch the nozzle plate underneath. If the error changes to B200, that is a different fault - a printhead protection shutdown - with its own procedure.
Fix 5: Check the purge and cap area
The carriage parks over a capping assembly on the right-hand side of the printer, which seals the nozzles when idle. Dried ink can build up there and physically hold the carriage in place, or the cap can fail to lower, blocking movement.
With power disconnected, look at the right-hand parking area. If you see thick dried ink around the rubber cap, soften it with a cotton bud very lightly dampened with warm distilled water and wipe it away carefully. Do not flood the area and do not press hard on the cap seal.
Fix 6: Reset

Once the path is clear and everything is seated:
- Close the cover with the power still disconnected.
- Wait 10 minutes with the plug out of the wall so residual charge drains from the logic board.
- Plug directly into the wall, bypassing extension leads for the test.
- Power on with the printer's own button and let the initialisation routine finish - it takes longer than a normal startup.
Related codes and what they mean
| Code | Meaning | Where to look |
|---|---|---|
| 5100 | Carriage obstruction or position error | Carriage track, encoder strip, purge area |
| 5200 | Ink-related fault, often a dry cartridge | Cartridge levels and seating |
| B200 | Printhead protection shutdown | See Canon B200 |
| 1300 | Paper jam in the feed or output path | See support code 1300 |
| 5B00 | Waste ink absorber counter at limit | See Canon 5B00 |
HP's equivalent carriage fault is error 0x6100004a - the diagnostic approach is essentially identical. Broader lists are at the Canon hub, common printer error codes and Canon printer support.
If it returns immediately
An error that reappears within seconds of every reset, with the path visibly clear and the encoder strip clean, points at hardware:
- Belt. Look at the rubber belt behind the carriage. Slack, frayed, or off a pulley means the carriage cannot be driven accurately.
- Carriage motor. A failed motor produces no movement, sometimes with a brief buzz.
- Encoder strip damage. A strip with its markings wiped off by solvent, or torn, reads as a position error no matter how clean it is.
- Logic board. Less common but presents identically.
If nothing worked
A carriage motor, belt or encoder strip replacement on a consumer PIXMA is a technician job, and the labour alone typically exceeds the price of a comparable new printer. Parts for entry-level models are frequently unavailable outside Canon's own service channel, and the machines are not designed to be opened.
Repair is worth pricing in three situations: the printer is still under warranty, in which case this is Canon's problem rather than yours; it is a business-class or MegaTank model where a substantial ink investment changes the arithmetic; or the encoder strip alone is the fault, since that is sometimes available as an inexpensive part and is fitted without dismantling the whole printer.
If the printer is recently purchased, go to the retailer rather than the manufacturer. Consumer protection law in the UK, Canada and Australia gives you a claim there, and it is almost always faster than a service process - a carriage fault on a new machine is usually a transit or assembly problem and should be exchanged rather than repaired.
If you would like someone to look at what the carriage is actually doing and confirm whether this is an obstruction or a failed motor before you spend anything, you can get help from a printer specialist.
Software mentioned in this guide
- Canon IJ Scan Utility
The scanning front end bundled with Canon inkjet drivers Windows · macOS - Canon IJ Setup (ij.start.canon)
Canon's setup portal that walks you through installing a PIXMA or MAXIFY printer Windows · macOS · iOS - Canon PRINT
Canon's single mobile app for printing, scanning and printer setup iOS · Android - Windows printer settings
How Windows installs printers, and the shift to driverless Windows Ready Print Windows - macOS Printers and Scanners
Where macOS adds printers, scans documents and resets the printing system macOS
Frequently asked questions
What does Canon support code 5100 mean?
The print carriage did not move the way the printer expected during startup or printing. Something is physically blocking it, a cartridge or the printhead is not seated, or the printer has lost track of the carriage position because the encoder strip is dirty or damaged.
How do I clean the encoder strip on a Canon printer?
With the power disconnected, pinch the clear plastic strip gently in a folded dry lint-free cloth and draw it along the full width once. Never use alcohol, glass cleaner or any solvent - they dissolve the fine printed markings and permanently ruin the strip, which then needs replacing.
Why does 5100 appear on a brand new Canon printer?
Because packing material was left inside. New PIXMA printers ship with orange tape, foam blocks and sometimes a cardboard insert around the carriage. Open the top cover, remove every piece, and check the full width of the carriage track with a torch before powering on again.
The carriage will not move by hand. What should I do?
Do not force it. Confirm the power cord is unplugged, since the motor holds the carriage while powered. If it still will not move with gentle pressure, something is jammed in the track or the drive belt has slipped a pulley - forcing it can strip belt teeth and turn a repairable fault into a scrapped printer.
Is Canon error 5100 fixable at home?
Often yes. Removing packing material, clearing a paper scrap, reseating cartridges and cleaning the encoder strip resolve the large majority of cases. If the error returns within seconds of every reset with a visibly clear path, the carriage motor or belt has failed and that is a technician-level repair.
Consumer-tech editor covering printers and home-office gear for US and Canadian readers.
Questions & comments (0)
No comments yet. Describe your printer model, operating system and the exact message you see; comments appear after review.
Ask about this page
Your comment appears after our team approves it. Or sign in to post faster.