Printer Printing Lines or Streaks? How to Diagnose Banding, Streaks and Smudges
The direction of the marks tells you the cause. Horizontal banding on an inkjet means clogged nozzles; evenly repeating vertical lines on a laser point at the drum or fuser.

On this page
Streaks and lines are one of the few printer faults where the symptom identifies the cause almost on its own. Marks running across the page - horizontal banding - point to nozzles or supply level. Marks running down the page at a repeating interval point to a drum, roller or dirty component. And lines that appear only on copies point at the scanner rather than the printer. Read the page correctly and you will skip most of the guesswork.
Quick fixes first
- Print a nozzle check (inkjet) or the printer's own test page (laser) from its control panel.
- Note whether the marks run across the page or down it, and whether they repeat at a fixed interval.
- On an inkjet with missing blocks, run one head cleaning, wait 20 minutes, and check again.
- On a laser, remove the toner cartridge and rock it gently side to side, then refit.
- If only copies show lines, clean the scanner glass and the narrow ADF strip beside it.
Why this happens

The two technologies fail in completely different directions. An inkjet builds an image from rows of nozzles that sweep across the page. If a nozzle row stops firing, the gap appears as a band running across the paper, in the direction of head travel. Nothing else produces that pattern.
A laser builds the image on a rotating drum that transfers toner to paper as the sheet passes. Anything permanently wrong with a rotating component - a scratch, a stuck piece of debris, worn coating - marks the page once per rotation, producing marks that repeat at a fixed distance down the page. That distance identifies the component, because each roller has a different circumference.
The third case has nothing to do with printing. On a multifunction device, scanning through the document feeder moves the paper past a fixed narrow strip of glass. A speck of dust on that strip touches every line of every scanned page, producing a perfectly straight line down the copy.
Diagnose from the pattern
| What you see | Technology | Most likely cause |
|---|---|---|
| White bands across the page, irregular | Inkjet | Clogged nozzle rows |
| Missing colour entirely | Inkjet | Empty cartridge or fully blocked channel |
| Wavy or doubled text | Inkjet | Print head out of alignment |
| Vertical line, same position every page | Laser | Drum scratch, corona wire, or debris on transfer roller |
| Marks repeating at a fixed interval down the page | Laser | Roller defect - measure the interval to identify which |
| Faded band down one side | Laser | Toner low and unevenly distributed |
| Toner that rubs off | Laser | Fuser not reaching temperature, or wrong media setting |
| Lines only on copies and scans | Either | Dirty scanner glass or ADF strip |
Fix 1: Inkjet - clean, then align
Start with the nozzle check from the printer's own panel, so the computer is not part of the test. On HP it is under Settings › Tools › Print Quality Report, on Canon under Setup › Maintenance › Print nozzle check pattern, on Epson under Settings › Maintenance › Print Head Nozzle Check, and on Brother under Maintenance › Improve Print Quality.
Cleaning
If blocks are missing, run one cleaning cycle. Wait 20 to 30 minutes. Print another nozzle check. Only run a second cycle if the first produced improvement. Cleaning cycles use a significant amount of ink, and running them back to back is the most common way people empty a set of cartridges without solving anything.
Alignment
Cleaning fixes gaps; alignment fixes marks that look doubled, wavy, or slightly offset between passes. Run print head alignment from the same maintenance menu after any cleaning, after changing cartridges, and any time text looks fuzzy rather than gappy. Use plain paper for the alignment page - photo paper can confuse the sensor reading it.
Ink build-up on the head
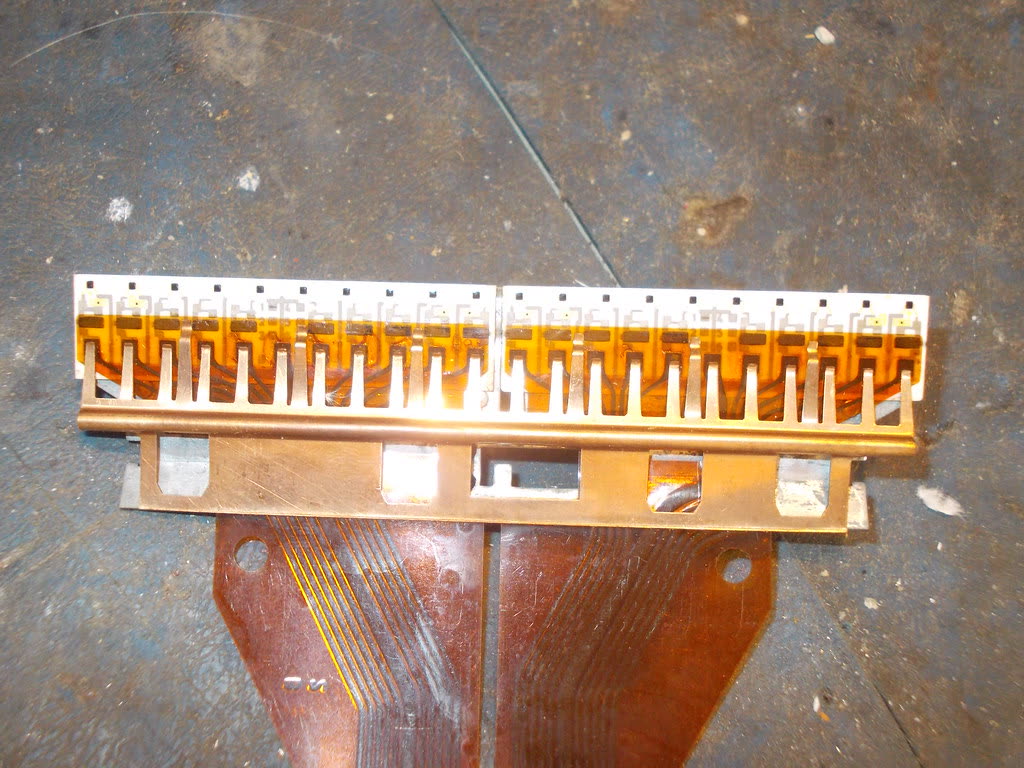
A printer that has been printing edge-to-edge, or on heavy paper, can accumulate ink on the underside of the head that then smears onto pages as a repeating streak. Look at the parked carriage with a torch. On models where the head is accessible, gently blot the underside with a lint-free cloth dampened with distilled water. Do not use alcohol or paper towel.
Fix 2: Laser - identify the component from the interval
Print several pages of a solid mid-grey fill, then measure the distance between repeating marks with a ruler. Each rotating component has a fixed circumference, so the interval identifies it:
- Short intervals, roughly 25 to 50mm: a developer or transfer roller.
- Longer intervals, roughly 75 to 95mm: the drum. This is the most common finding.
- Long intervals, over 100mm: usually the fuser roller, and often accompanied by ghosting - a faint repeat of an image printed earlier on the same page.
Exact figures vary by model, and your printer's service documentation will list them. But the principle holds: measure first, then act.
Things to try before replacing anything
- Rock the toner cartridge. Remove it, hold it level, and rock gently side to side five or six times. This redistributes toner and clears many faded-band complaints instantly.
- Clean the corona wire on Brother machines. Inside the drum unit there is a green tab; slide it fully left and right several times, ending in the home position. Failing to return it home causes a vertical line of its own.
- Inspect the drum surface. Remove the drum unit and look at the green or blue photosensitive surface in indirect light. A visible scratch or a stuck fragment of paper explains a persistent line. Do not touch the surface with your fingers and keep it out of bright light.
- Check the paper path for a fragment of paper or a label backing sheet caught on a roller.
If the drum is scratched, it needs replacing - drums are consumables with a rated life, usually several times that of a toner cartridge. See Brother drum end of life for the reset procedure after fitting one.
Fix 3: Lines only on copies or scans

This is the easiest fix on this page and the one most often misdiagnosed as a printer fault.
- Lift the lid and clean the main scanner glass with a soft lint-free cloth. Spray glass cleaner onto the cloth, never directly onto the glass, where it can seep under the edge.
- Find the narrow strip of glass at one end of the main platen, usually a centimetre or two wide with a white or coloured line beside it. This is the ADF scanning window. Clean it thoroughly.
- Clean the white backing strip on the underside of the lid too.
- Test by copying from the glass and then through the feeder. If the glass copy is clean and the feeder copy has a line, the ADF strip still has something on it.
A single speck here produces a perfect line down every page, which is why this fault looks so much like a serious hardware problem. If scanning fails altogether rather than producing lines, see scanner not working.
Fix 4: Paper and settings
- Damp or curled paper causes uneven ink absorption on inkjets and poor toner transfer on lasers. Use fresh paper from a sealed pack as a test - this rules out a whole class of problem in one page.
- Wrong media type in the driver makes the printer lay down the wrong amount of ink or use the wrong fuser temperature. Set it to match what is loaded.
- Rough or recycled stock produces streaking on inkjets by design. If the marks vanish on better paper, the paper was the cause.
- Photo paper coating must match the printer type. Paper made for dye inks used on a pigment printer, or vice versa, bands badly regardless of the printer's condition.
Brand-specific notes
HP
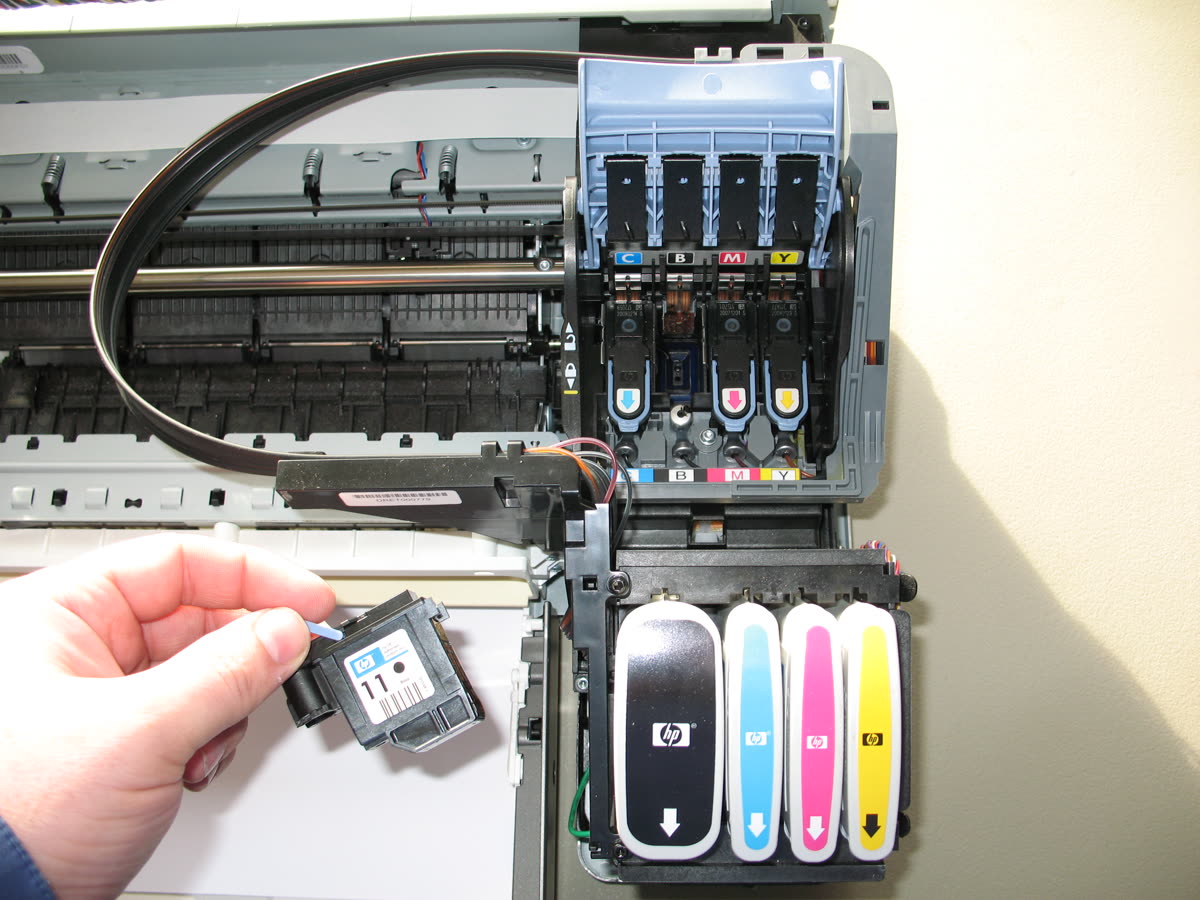
The Print Quality Report from the panel or the HP app diagnoses which channel is failing. On models where the printhead is part of the cartridge, a persistent banded colour is fixed by replacing that cartridge; on models with a separate printhead, see HP problem with printhead.
Canon
PIXMA printheads are removable, so a stubborn clog can be soaked. Canon also offers a Bottom Plate Cleaning routine specifically for ink smearing on the back of pages, which is worth running before assuming a head fault.
Epson
Epson heads are permanent, so prevention matters more. Run Power Cleaning only once and only after normal cleaning fails - it consumes a lot of ink and advances the waste counter toward ink pad end of service life.
Brother
The green corona wire tab inside the drum unit is Brother's signature fix for vertical lines on lasers, and it takes ten seconds. On Brother inkjets, the Special Cleaning option is stronger than the standard cycle. See the Brother hub.
If nothing worked
At this point you have separated the causes: a laser with a marked drum needs a drum, which is a consumable and generally worth buying. A laser with a failing fuser is a different calculation - fuser assemblies on consumer models often cost more than half the price of a new printer, and fitting one is a technician job on most machines.
An inkjet where cleaning, soaking and alignment have all failed has a damaged head. On Canon and Brother models the head is replaceable, typically at a third to two-thirds of the price of a new printer. On Epson and most HP models the head is permanent, and a workshop repair almost never makes economic sense on a consumer machine.
The honest rule of thumb: repair is worth pricing on business-class lasers, machines under warranty, and ink tank printers holding a lot of ink. Everywhere else, a replacement is usually cheaper than the diagnosis - and if you are replacing, inkjet vs laser covers which technology suits your usage.
If you would like someone to look at your test page and tell you which component the pattern points to, you can get help from a printer specialist before ordering parts.
Software mentioned in this guide
- Brother iPrint and Scan
Desktop print and scan front end that replaces ControlCenter4 on newer Brother models Windows · macOS · iOS - Canon IJ Scan Utility
The scanning front end bundled with Canon inkjet drivers Windows · macOS - Epson ScanSmart
Desktop scanning software for Epson scanners and all-in-ones Windows · macOS - Epson Smart Panel
Epson's current mobile app for setup, printing, scanning and ink levels iOS · Android - HP Smart (the HP app)
HP's official setup, printing, scanning and ink app for home and small-office printers Windows · macOS · iOS
Frequently asked questions
Why is my printer printing horizontal lines across the page?
On an inkjet, horizontal white bands mean a row of nozzles is not firing, usually from dried ink. Run a nozzle check to confirm, then one or two head cleanings with a rest between them. On a laser, horizontal bands more often indicate a failing drum or low toner distributed unevenly.
What causes vertical lines down every printed page?
On a laser, a vertical line in the same place on every page points to a scratch or contamination on the drum, a dirty corona wire, or debris on the transfer roller. On an inkjet it usually means the print head needs aligning, or that ink has built up on the head or a paper-path component.
Why do only my copies and scans have lines, not my prints?
Because the fault is in the scanner, not the printer. A single speck of dust on the narrow ADF scanning strip creates a line down every scanned page. Clean the main glass and the thin strip beside it with a soft cloth and glass cleaner sprayed onto the cloth, never onto the glass.
How do I clean a print head properly?
Use the printer's own cleaning cycle from the maintenance menu, not a manual method, as the first step. Run one cycle, wait 20 to 30 minutes, print a nozzle check, and run a second only if it improved. On printers with removable heads, a stubborn clog can be soaked in warm distilled water and dried thoroughly before refitting.
My laser printer smudges toner that rubs off. What is wrong?
Toner that rubs off has not been fused, which means the fuser is not reaching temperature or the media type setting is wrong. Check the driver's paper type matches what is loaded, since heavy media needs more heat. If the setting is right, the fuser is failing and needs replacing.
Consumer-tech editor covering printers and home-office gear for US and Canadian readers.


Questions & comments (0)
No comments yet. Describe your printer model, operating system and the exact message you see; comments appear after review.
Ask about this page
Your comment appears after our team approves it. Or sign in to post faster.